Aglare2024's blog
Whether you plan to improve the atmosphere of your amusement park, illuminate a theme park, or add a touch of charm to outdoor rides, knowing how to connect fairground lights is an essential skill.

This comprehensive guide will give you the knowledge and expertise you need to easily deal with the complexity of fairground lights installation. From interpreting complex wiring diagrams to achieving perfect connections, we will uncover the mysteries behind these fascinating light sources.
Now, let's take a deep dive into the complexity of fairground lights wiring in this beginner's guide and uncover the secrets to achieving correct wiring and optimal brightness.
1. fairground lights selection:
There are numerous entertainment facilities, landscape markers, and structures at the amusement park. Because fairground lightss are utilized for a wide range of projects and activities, night scene lighting carriers are rather different. The essential consideration in the early stages of lighting design is how to properly set the lights of buildings, landscape components, and amusement facilities to highlight theme aspects and create an entertaining ambiance. Because of the large range of bulbs and illumination types available, lights come in a variety of colors, styles, and sizes.

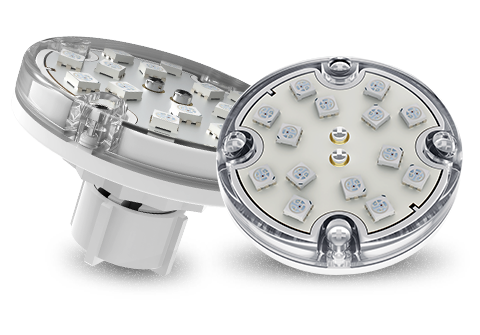
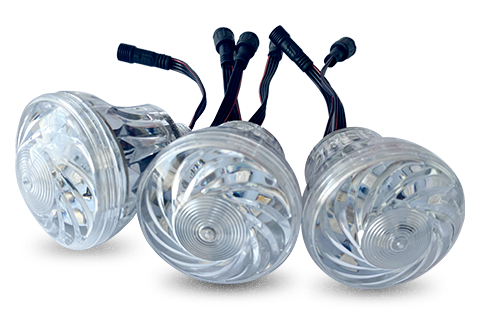
We offer E10 (40mm) and E14 (60mm) fairground lightss in 15 colors for both small and large displays. The E10 is great for a subtle touch, while the E14 is ideal for those who want to make a bold statement.
For those who prefer color-changing lights, we also stock rgb cabochon lights. Giving you endless possibilities to create a unique custom setup.
2. How to install fairground lightss
The installation procedure for fairground lightss must include safety, aesthetics, lighting effects, and simplicity of maintenance.
We need to specify the sort of illumination necessary (Ferris wheel, carousel, jumping machine, floodlight, decorative light strip, etc.) for each part of the playground.
Select an appropriate site to install LED fairground lights, ensuring that the area can fully utilize the lighting effects while meeting safety criteria. Do not install on wet or combustible surfaces.
Measure the size: Use a tape measure to measure the size of the location and make sure the size of the selected lamp matches it. Also check the fixture's fixing base and mounting holes to ensure that they match the installation location.
3. Safety regulations
Follow the standards: Make sure all electrical work complies with local safety and electrical regulations (such as CE, RoHS, UL, etc.).
Grounding protection: All lamps should be properly grounded to prevent electric shock accidents.
Protection level: Choose lamps with appropriate IP protection levels to adapt to outdoor environments.
4. Precautions
• Avoid overload: Make sure the output power of the power supply is large enough to avoid damage to the power supply due to overload.
• Waterproof treatment: Especially when used outdoors, make sure all connection points are fully waterproofed.
• Safety first: During the wiring process, be sure to disconnect the power supply to avoid electric shock accidents.
• Professional installation: For complex electrical projects, it is recommended that professional electricians or engineers perform installation and commissioning.
Summary Through careful planning, selection of appropriate materials and strict construction standards, you can create a beautiful and efficient lighting system for your amusement park. This will not only enhance the experience of visitors, but also effectively reduce operating costs and maintenance difficulties. Hopefully this detailed wiring guide will help you successfully complete your amusement park lighting project. If you have specific project requirements or encounter any questions, you can directly contact the supplier or professional electrician for further assistance.
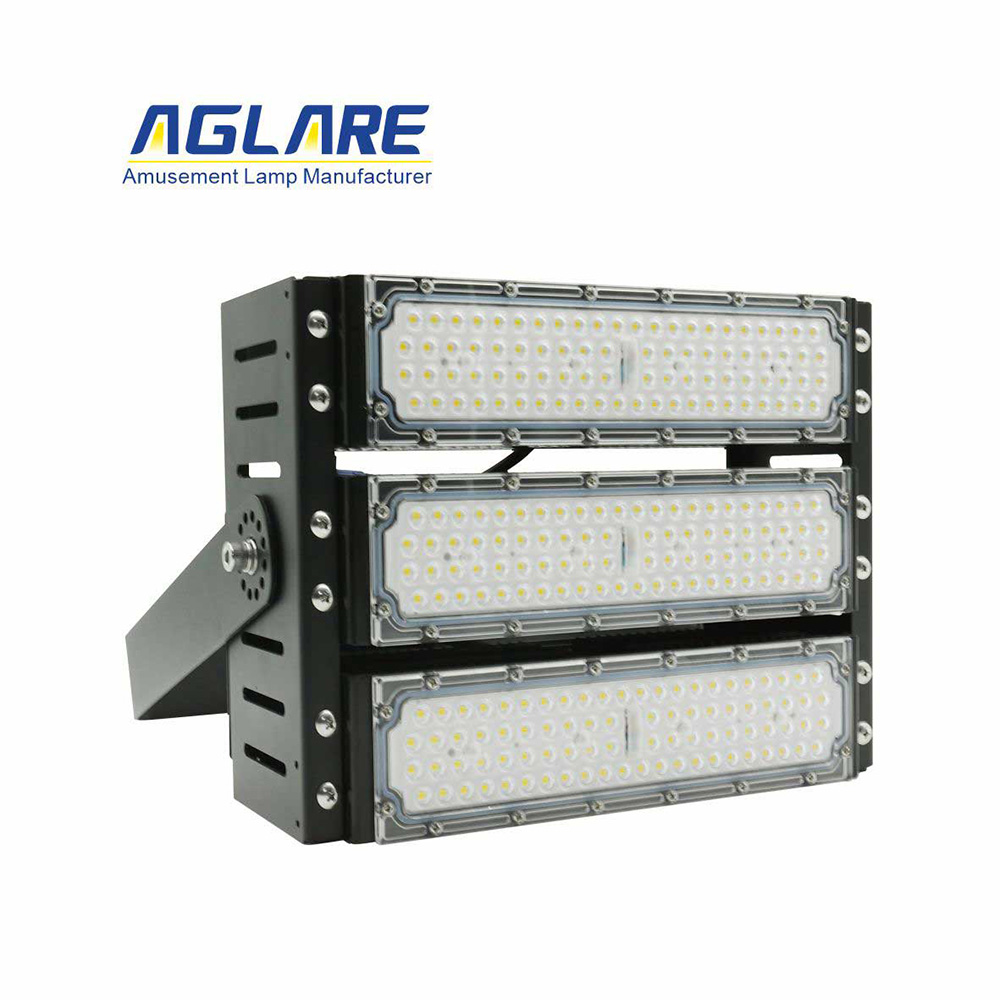
Outdoor LED floodlights have become an integral part of modern lighting solutions, offering energy-efficient, durable, and versatile lighting options. When choosing outdoor LED floodlights, the color temperature of the light source is a key factor that not only affects the ambiance of your outdoor space, but also has a significant impact on visibility and safety. This article will take a deep dive into the importance of color temperature, its applications, and how to choose the right color temperature for your outdoor area.

1. Understanding Outdoor LED Floodlight Color Temperature
Color temperature refers to the color appearance of the light emitted by a light source when it is heated to a specific temperature. Lower color temperatures (around 2700K) produce a warm yellow light similar to traditional incandescent lamps, while higher color temperatures (5000K and above) produce a cooler blue light.
Choosing the right color temperature for your outdoor LED floodlighting is a critical choice that affects the atmosphere, mood and usability, visibility and even safety of your commercial and office areas, residential areas. Color temperature is measured in Kelvin (K) and determines whether the light is warm, neutral or cool. Understanding the impact of different color temperatures will help you make an informed decision for your outdoor space.
2. Different color temperature ranges for outdoor LED floodlights
Cool White (5000K-6500K)
Cool white LED floodlights emit bright, crisp light that is very similar to natural daylight. They are ideal for security lighting because their intense illumination deters intruders and provides a clear view of the surrounding environment.
Daylight White (4000K-5000K)
Daylight white lights strike a balance between warm and cool tones. They are suitable for general outdoor lighting, improving visibility without being too harsh.
Neutral white (3500K-4000K)
Neutral white light provides a pleasant mix of warm and cool light, making it suitable for a variety of outdoor applications, from lighting up roads to highlighting architectural features.
Warm white (2700K-3500K)
Warm white lights create a comfortable and pleasant atmosphere. They are often used for decorative purposes, such as highlighting garden features or creating a relaxing atmosphere on a terrace.
3. Application of different color temperatures of outdoor LED floodlights
3000K LED floodlights (warm white light): suitable for creating a warm and comfortable atmosphere, especially in residential areas, gardens, leisure places and landscape lighting.
•4000K LED floodlights (neutral white light): provide higher brightness and visual clarity, suitable for places such as commercial areas, parking lots, public squares, etc. that require increased attention and safety.
•6000K LED floodlights (cool white light): provide extremely high brightness and clarity, suitable for occasions such as industrial areas, stadiums and highways that require extremely high visibility.
For the old advertising installation masters, this question can be avoided. Here is a reference for those friends who order Led Light Letters&LED luminous characters& Led Light Letters online.

I have written an article before and mentioned that there are two types of luminous character production and processing factories. One is the self-owned processing factory, which mainly serves customers with high brand or quality requirements, and the other is the peer processing factory, which mainly serves advertising stores and advertising companies. Since there are quite a lot of luminous characters, the self-owned processing factories use relatively good materials. The luminous character factories that do second-hand processing generally process borderless characters, super characters, 3D characters, stainless steel buckle-edged luminous characters, neon characters, etc. Most of the stainless steel buckle-edged characters are mirror steel buckle-edged or brushed buckle-edged. Due to environmental protection issues, their painting costs are relatively high, so they do not mainly promote luminous characters with painted edges; most of the materials are mainly aluminum edge strips or mirror steel edge strips.
Whether it is Alibaba, Global Sources, Made in China, or the luminous character processing manufacturers seen on Facebook and Google, the characters ordered from them are generally not installed. They are shipped upon payment, and need to be installed by yourself after the goods arrive. So here is a reference for this kind of friends on how to install luminous characters or how to wire luminous characters.
First, 1. The luminous character processing factory will provide a draft, that is, a 1:1 draft of the luminous characters; after receiving the goods, you must not throw it away or damage it as garbage. First open the installation draft received and compare it one by one. This step is called draft comparison in the industry. The production workers also use this drawing to compare the draft in the factory, so when installing, the installers also need to use this drawing to compare the draft to see if there are any omissions. If there are any, immediately feedback to the manufacturer's customer service.
Secondly, 2. The installation master needs to have a little knowledge of electricity, and it is best to be a master with an electrician certificate; after comparing the draft, test each character one by one with a special LED power supply to check whether the luminescence of the character is good. Make sure that every stroke of the luminous character is bright. Note that when testing the light, the 220V line must be connected to the 220V position of the power supply, and the luminous characters are connected to the positive and negative poles of the power supply.
Step 3 After confirming that the luminous characters are intact and powered on, place the installation draft in the center of the door head or background board where they need to be installed. Fix it with color separation paper. Stand below and visually check whether it is the position you need to install. If you have professional tools, such as a level ruler or a laser ruler, check the level. If conditions do not allow, you can only look at your own aesthetics.
Step 4, fix the LED luminous characters. If the characters bought online are small and light, you can use glass glue or structural glue. Generally, transparent neutral glue is better. If the characters are slightly smaller, you need to use hot melt glue to assist in fixing. Of course, before gluing, you have to put the strokes of the characters through and hide them on the back.
Step 5, after all the characters are fixed according to the font draft, the heavy part is the wiring work behind the backboard. This step stumps many people. If your backboard is quite narrow, it is a bit difficult to put your hand in. In this case, you need to first pass the positive and negative wires of the wire through the hole, and mark which stroke it is. After fixing the characters, connect the whole thing and put it in. This work is very hard and meticulous.
Step 6, connect the LED power supply. The two wires behind each stroke of the LED luminous characters are positive and negative. It is to connect the positive and negative poles of the LED power supply. If there are fewer characters, one or two power supplies can handle the characters, and I believe everyone can connect them directly with their eyes closed, but what if there are multiple LED power supplies? This will test the master's allocation ability and professional knowledge. If there are more than 3 power supplies, you still have to find a professional. If you do it yourself, the distribution is still uneven, which will cause the brightness of the characters and strokes to be inconsistent.
Step 7, the power interface has 220V neutral wire, live wire, and ground wire; connect them to the neutral, live, and ground wires that are right in the main line position, and send electricity.
It seems that the description is very simple. Now the professional installer of LED luminous characters has also gained experience through constant exploration, especially when dividing the wires, whether the old master or the new master can tell by looking at the handwork. If it is installed by a novice, the power supply and lamp may burn out easily in the later stage; if it is installed by an experienced person, as long as the power supply is reasonably distributed and the load is normal, the power supply will not break down in less than a year. If the power supply is of good quality, it will not break down for more than two years.
